
How to Choose a Teeth Whitening Kit That Is Safe and Effective
A good teeth whitening kit does three things: it uses a peroxide concentration proven to lighten stains, it matches how sensitive your teeth already are, and it is simple enough that you will actually follow the instructions. Most disappointing results come from the last point.
The formats on the shelf are trays, strips, gels, pens and LED devices. They differ mostly in peroxide strength and how evenly the gel contacts the tooth, and those two variables explain almost all of the difference in results. Many DIY and “natural” alternatives have no evidence behind them, which we cover in our guide to what really works for teeth whitening. If your stains are deep or uneven, professional teeth whitening treatment is the more controlled route.
Table of Contents
What a Whitening Kit Does to Your Teeth
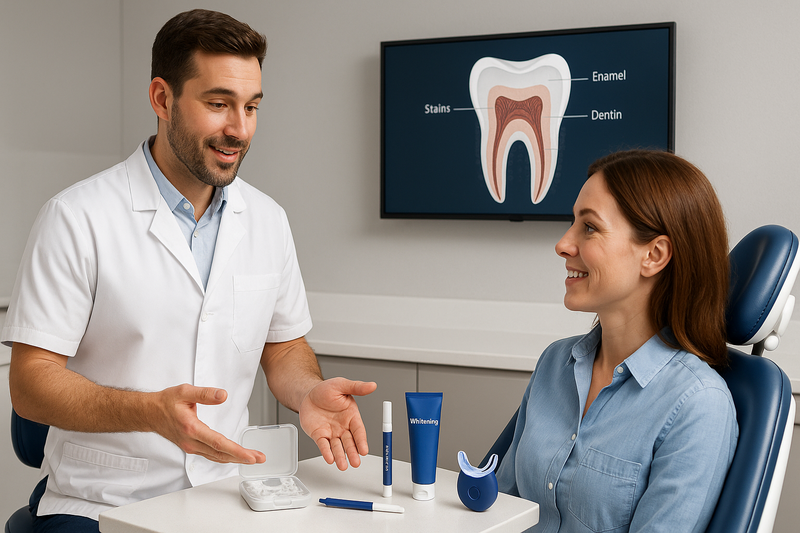
A whitening kit delivers a peroxide gel to the tooth surface. The peroxide releases oxygen, the oxygen passes through enamel into dentin, and it breaks apart the pigment molecules that make a tooth look yellow or brown. That is a chemical change inside the tooth, not scrubbing on the outside, which is why whitening toothpaste and a tray kit are not interchangeable.
- Peroxide activation: hydrogen or carbamide peroxide releases oxygen that dissolves stain particles.
- Penetration below the surface: the agent passes through enamel to reach deeper discoloration.
- Gradual lightening: shade change builds over repeated applications rather than in one use.
The Active Ingredients Worth Knowing
- Hydrogen peroxide, 3% to 10% over the counter: fast acting, common in strips and brush-on gels.
- Carbamide peroxide, 10% to 35%: breaks down into hydrogen peroxide more slowly, used in most tray systems, and often easier on sensitive teeth.
- Mild abrasives in whitening toothpaste: lift surface stain but do not change the underlying tooth color.
- Pens and LED kits: different delivery formats for the same peroxide gel. The peroxide concentration still determines the result.
In-office systems use higher concentrations with the gums isolated and protected. If an over-the-counter product is not giving you the shade change you want, professional whitening uses stronger formulas under supervision.
Surface Stains and Deep Stains Behave Differently
Extrinsic stains come from coffee, tea, red wine, tobacco and pigmented foods. They sit on and just under the enamel surface and respond well to almost any peroxide product.
Intrinsic stains come from aging, trauma, or certain medications, and sit deeper in the dentin. A home kit can lighten them somewhat, but slowly and unevenly.
Gray tones from tetracycline, a single dark tooth after an injury, or banded discoloration should be looked at before you start whitening. Those cases sometimes need bonding or veneers rather than bleaching, and whitening around them can make the mismatch more obvious.
Comparing the Formats: Trays, Strips, Pens, LED
Tray-Based Kits
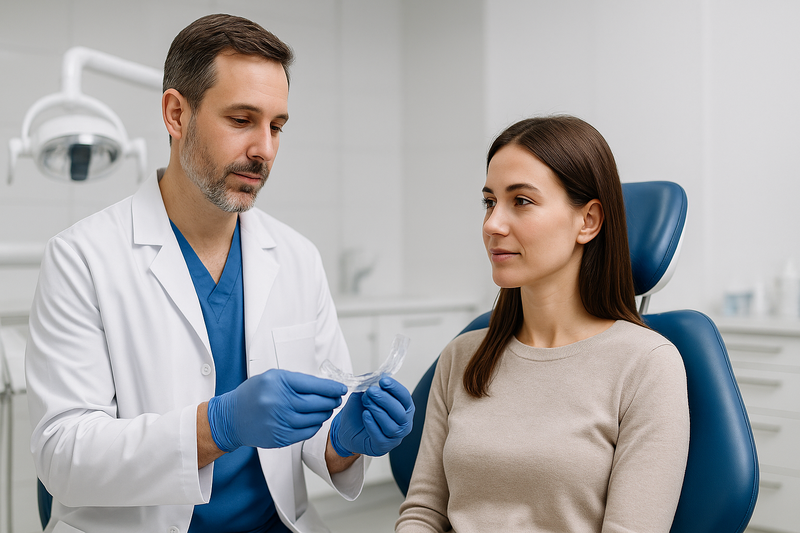
Trays hold gel against every surface of the tooth for a set period each day, which is why they produce the clearest at-home shade change. Custom trays made from an impression distribute gel evenly and keep it off the gums. Boil-and-bite trays fit less precisely, which is the usual source of gum irritation and patchy color.
- Strengths: most thorough coverage, works on moderate staining.
- Trade-offs: 20 to 60 minutes of wear at a time, more likely to cause sensitivity, requires daily consistency.
- Best for: coffee, wine or tobacco staining where you want a visible shade change.
For the most controlled version of this approach, in-office whitening remains the benchmark.
Strips and Pens
Strips are thin peroxide-coated films pressed onto the teeth. They are inexpensive and hard to misuse. A whitening pen brushes gel directly onto enamel and dries in place, which makes it useful for touch-ups on the go.
- Strengths: convenient, portable, low cost.
- Trade-offs: lower peroxide levels, uneven contact on crowded or rotated teeth, limited effect on deep stains.
- Best for: mild discoloration and maintenance between fuller treatments.
Be skeptical of “instant whitening” claims. Our guide to what really works for teeth whitening goes through the common ones.
Whitening Toothpaste and LED Kits
Whitening toothpastes rely on mild abrasives or low-level whitening agents. They keep surface stain from rebuilding, which is genuinely useful, but they do not change the natural color of the tooth.
LED kits pair a peroxide gel with a blue light. The light may speed activation slightly, but the gel is doing the work. Judge an LED kit by its peroxide concentration and wear time, not by the device.
- Strengths: easy to use, good for holding results.
- Trade-offs: variable outcomes, marketing that overstates the light, slower than trays.
- Best for: surface stain and upkeep after a full whitening course.
Put simply: trays give the biggest at-home change, strips and pens handle mild staining and touch-ups, and toothpaste or LED kits are maintenance tools rather than shade-changing ones.
How to Use a Whitening Kit Safely at Home
Whitening at home is safe when you respect the product’s limits. The aim is even lightening without gum burns or lasting sensitivity, and four habits get you there.
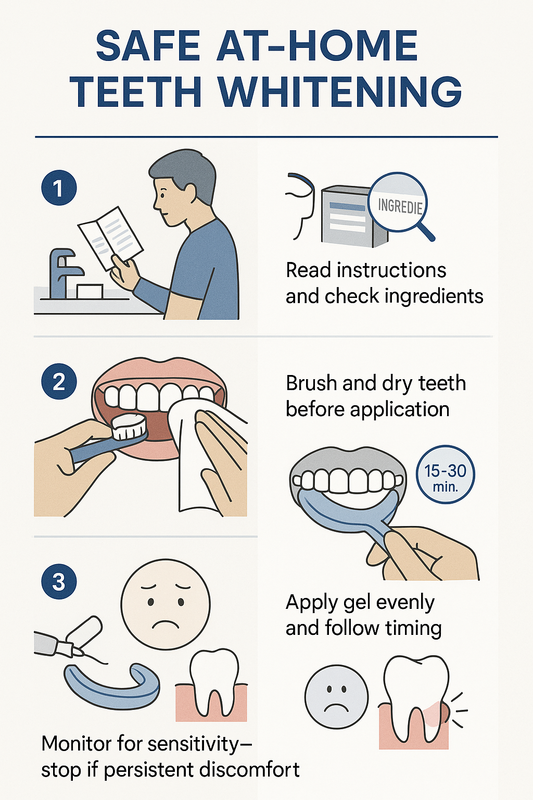
Four illustrated steps for safe whitening at home.
-
Step 1: Read the Label Before You Open the Box
Check the peroxide strength, the recommended wear time, and the warnings about sensitivity, gum disease and recent dental work. Skip anything that exceeds normal over-the-counter concentrations. If you have had recent fillings, crowns or gum treatment, ask us first.
-
Step 2: Brush and Dry Before Application
Brush gently with a non-abrasive toothpaste and rinse well, so the gel contacts clean enamel rather than plaque. Then dry the teeth lightly with gauze before seating a tray or strip. Saliva dilutes peroxide, and dry enamel holds the gel where you put it.
-
Step 3: Apply Thinly and Time It
A thin, even ribbon of gel is enough. Overfilling a tray pushes gel onto the gum tissue, which is the most common cause of the white patches and soreness people report after whitening. Wear the product only for the stated time. Leaving it on longer does not lighten teeth faster, it just raises the odds of sensitivity.
-
Step 4: Watch Sensitivity and Know When to Stop
Mild cold sensitivity in the first few applications is normal and settles within a day or two. Stop using the product if pain becomes sharp, wakes you at night, lingers after the stimulus is gone, or if your gums stay sore or blanched. Persistent pain in one tooth in particular is worth a call to us rather than another application.
If results are uneven or discomfort keeps returning, a professional whitening visit lets us control the concentration and protect the gums directly. Once you finish a course, our guide on maintaining your whitening results covers how to keep the shade you gained.
Who Should and Should Not Whiten at Home
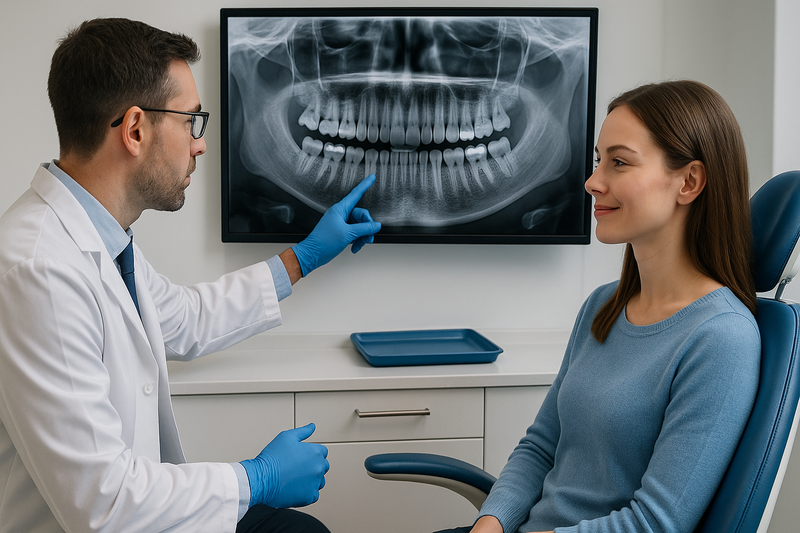
Whitening is not right for every mouth. Your gum health, the type of stain, and any existing dental work all change what you should expect.
Good Candidates for At-Home Whitening
A home kit is usually a reasonable choice if you have:
- Healthy teeth and gums with no untreated decay or active gum disease.
- Mild to moderate surface staining from coffee, tea, red wine or smoking.
- No crowns, veneers or large fillings on the front teeth.
- No history of severe sensitivity to cold or to previous whitening.
When to Have It Done in the Office Instead
See a dentist before whitening if any of these apply:
- Deep intrinsic staining, including gray or brown discoloration from medication or trauma.
- Crowns, veneers or bonding on visible teeth. Restorative materials do not bleach, so whitening the teeth around them creates a visible mismatch.
- Moderate to severe sensitivity, exposed root surfaces, or worn enamel.
- Active gum disease or untreated decay, which should be treated before any peroxide goes near it.
Whitening is also generally deferred during pregnancy and nursing, and is not recommended for children whose permanent teeth are still coming in. In all of these situations, supervised whitening lets us adjust the strength, protect the gums and plan around existing restorations.
Cost and Value: Home Kit or In-Office?
The price difference between a home kit and a professional treatment is real, but so is the difference in how predictable the result is. Here is how the two compare on the points patients actually ask about.
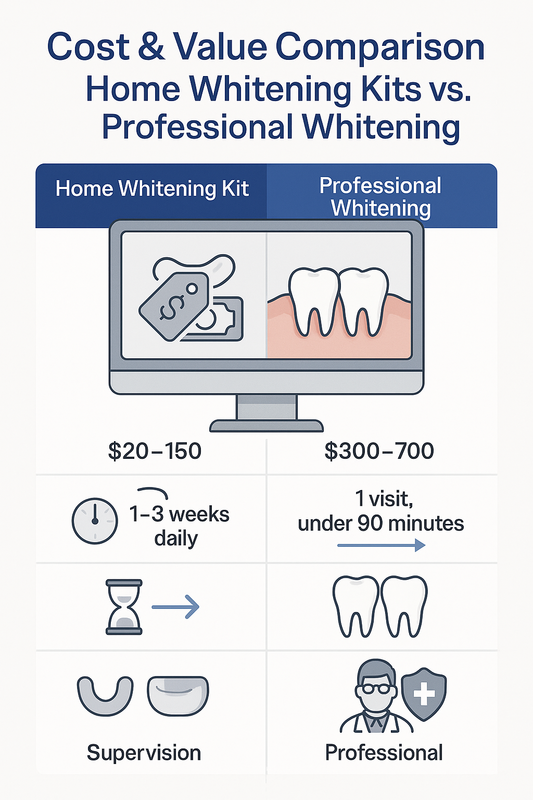
Key differences between home and professional whitening at a glance.
- Cost: home kits generally run $20 to $150. In-office whitening typically runs $300 to $700 in California, depending on the case.
- Time: home kits take daily use over one to three weeks. In-office whitening is usually a single visit, often under 90 minutes.
- Strength: retail products use lower peroxide levels for safety without supervision, so deep stains may not lift. In-office concentrations are higher and applied with the gums isolated.
- Longevity: both fade with coffee, tea, wine and tobacco. Professional results tend to hold longer, particularly with the habits in our guide to maintaining whitening results.
- Predictability: stock trays fit everyone approximately, which is where gum irritation and patchy color come from. Dentist-supervised whitening includes gum protection and shade checks along the way.
For light surface staining, a well-chosen home kit is often enough. For deeper discoloration, restorations on the front teeth, or a deadline, in-office whitening is usually the better use of the money.
Frequently Asked Questions
Which whitening kit is best if my teeth are already sensitive?
Look for a lower peroxide concentration, a shorter wear time, and a formula that includes potassium nitrate or fluoride to calm the nerve response. Carbamide peroxide releases more slowly than hydrogen peroxide and is usually the gentler choice. Custom trays help too, because they keep the gel off the gums and root surfaces.
Can I use a whitening kit every day?
Only for the length of the cycle the product describes, usually 7 to 14 days, and then take a break. Continuous use raises sensitivity and gum irritation without adding much shade. If you have restorations, gum disease or worn enamel, check with us before starting.
How quickly will I see a difference?
Most people notice a change in 3 to 7 days, with the full result at around 10 to 14 days of consistent use. Coffee and tea stains lift faster than deeper discoloration. If nothing has changed after two weeks, the stain is probably intrinsic and a home kit is unlikely to shift it.
Do LED whitening kits actually work?
The gel works, the light contributes very little. Blue light can help activate peroxide, but it does not bleach teeth on its own, and results track the gel concentration and wear time far more closely than the device. Compare LED kits on their peroxide percentage rather than on the hardware.
Can whitening damage my enamel?
Used as directed, peroxide whitening does not permanently damage enamel. Overuse, very high concentrations, or stacking several whitening products at once can cause temporary sensitivity and gum irritation. Stop and give your teeth a rest if discomfort persists, and let us take a look if it does not settle.
Ready for More Predictable Results?
If you have worked through a home kit and the shade change was smaller or patchier than you hoped, that is a common outcome. Retail products are built to be safe without supervision, which caps how much they can do.
At Elegant Dentistry in Marina del Rey, we check enamel health, existing dental work and your shade goal first. Sometimes the answer is a custom tray you use at home, sometimes an in-office session, and sometimes treating a cavity or gum inflammation before whitening anything. Our professional whitening protects the gums and checks the shade as we go. Consultations and second opinions are free, and we accept most insurance.